
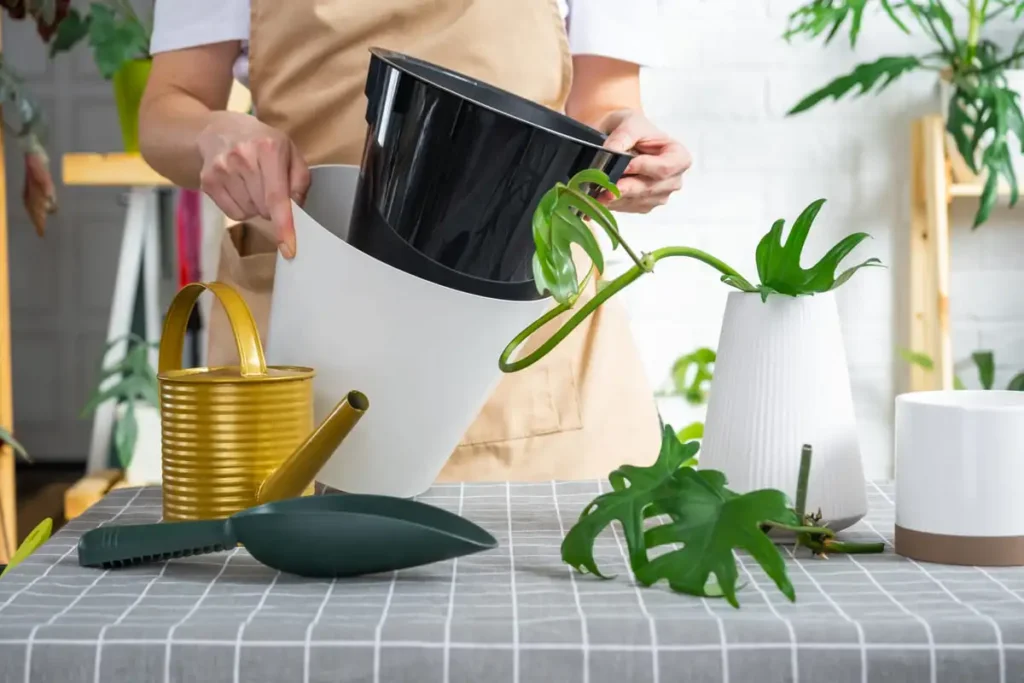
How do self-watering pots work? They store water in a reservoir under the soil, and a wick or a column of potting mix pulls that water up into the roots by capillary action. As the plant uses the moisture, more water climbs up to replace it. You still water, just less often: you fill the reservoir every week or few weeks instead of watering the soil every few days.
They’re great for thirsty tropical plants, herbs and anyone who travels or forgets to water. They’re a bad match for succulents, and they can rot roots if you use dense soil or keep the reservoir topped up all the time. Below we cover how each type works, which plants do well, how to use self-watering pots without drowning anything, how often to refill and what they cost, from a free soda-bottle build to $600 floor planters.
What Is a Self-Watering Pot?
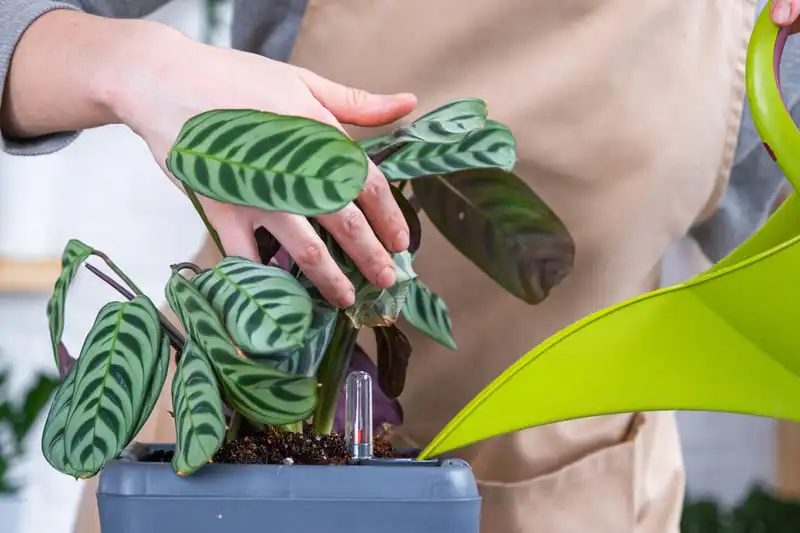
What is a self-watering pot, in plain terms? It’s a container with two levels: the plant and potting mix on top and a water reservoir underneath, split by a platform or insert. You’ll also see it called a sub-irrigated planter, which just means it waters from below. University of Maryland Extension describes the classic design: the growing medium sits on a perforated platform above the reservoir, and an overflow hole on the side replaces the usual drainage holes in the bottom.
Ask what is a self-watering planter and you’ll get the same answer, because “pot” and “planter” mean the same thing here. Almost every model has these six parts:
| Part | What it does |
|---|---|
| Reservoir | Holds the water under the soil, from a cup in small pots to several gallons in floor planters |
| Separator or platform | Keeps most of the potting mix above the water so roots still get air |
| Wick or soil column | Carries water from the reservoir up into the mix |
| Fill tube or lip | Lets you add water without pouring it over the soil |
| Overflow hole | Lets extra water out so the soil can’t flood |
| Water level indicator | A float that shows when the reservoir is empty (mostly on premium models) |
So what is a self-watering pot not? It’s not a pot that never needs you. Someone still has to fill it, check it and clean it now and then.
How Self-Watering Pots Work: Capillary Action in Plain English
How does a self-watering pot work without a pump or electricity? It relies on capillary action, the same force that pulls coffee up into a sugar cube. Water clings to the tiny gaps between bits of potting mix and the fibers in a wick, and it climbs those gaps against gravity. University of Kentucky Extension notes that smaller particles pull water up more strongly and that capillary action can lift water about 4 inches above the water line.
That 4-inch figure explains a lot. The bottom of the pot stays moist, the middle is damp and the top inch or two can look dry even when the reservoir is full. Don’t let a dry surface fool you into topping it up.
How does a self-watering planter work in a deep pot, then? Water alone won’t climb to the top of a 12-inch pot, so deep planters rely on a wick or on roots growing down toward the water. After a few weeks, roots find the moisture and some reach into the reservoir itself. Roots that grow in water adapt to it, which is why a healthy plant can have roots in the reservoir without rotting. The roots higher up are the ones at risk. They need air, and the separator and the air gap under it keep them out of soggy soil.
So how do self-watering pots work day to day? Here’s the part many product pages get wrong. They say plants “drink only what they need.” The plant decides how fast it uses water, but the soil doesn’t stop wicking until it’s wet, whether the plant is thirsty or not. That’s why the most useful habit with any self-watering pot is letting the reservoir run empty for a few days before you refill it.
How do self-watering planters work compared with bottom watering in a saucer? Almost the same way. A self-watering planter is bottom watering on autopilot, with a bigger tank and a lid that keeps the water clean.
The 4 Types of Self-Watering Pots
How do self-watering pots work across different brands? The physics is the same, but the hardware isn’t. These are the four designs you’ll find in stores.
Wick Pots
How does a self-watering pot work with a wick? A cotton or nylon cord runs from the reservoir up into the soil and carries water the whole way. Cheap plastic sets and most small pots use this design. Wicks work well in small pots, but cotton rots in time and synthetic cord clogs with minerals, so replace them about once a year.
Wickless Reservoir Pots
How do self-watering planters work with no wick at all? A column of potting mix, usually packed into a cup or “foot” in the middle of the separator, dips into the water and wicks it up. Many budget resin planters and most outdoor planters work this way, and so does Lechuza, which adds a mineral layer and a water level float. There’s nothing to wear out, but the column has to be packed with mix that actually touches the water.
Double Pots
An unglazed terracotta pot sits inside a glass or plastic outer pot that holds the water. The clay soaks it up and passes it into the soil, much like a clay olla buried in a garden bed. Mainstays Aquaterra pots are a cheap example. Damp clay often grows white or green mold on the outside, which looks bad but doesn’t hurt the plant.
Globes and Watering Stakes
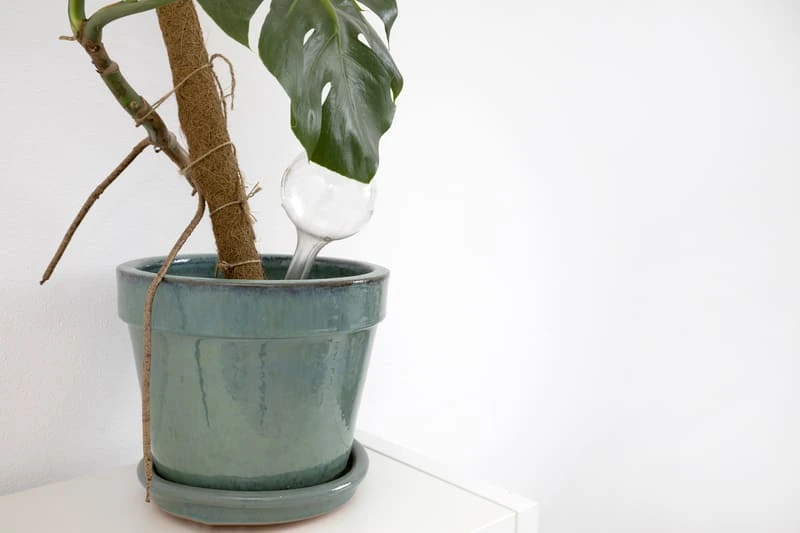
How does a self-watering planter work without a built-in reservoir? Globes and stakes go into the pot you already have. Glass or plastic globes release water as the soil around the tip dries, and they last days rather than weeks. Ceramic stakes like Blumat are smarter. The porous tip senses how dry the soil is and only draws water from a separate container through a thin tube when the soil needs it. They’re the closest thing to watering on demand.
| Type | How water moves | Best for | Weak spot |
|---|---|---|---|
| Wick pot | A cord pulls water up | Small houseplants, African violets | Wicks rot or clog |
| Wickless reservoir | A column of mix wicks water up | Most houseplants, herbs, outdoor planters | Needs airy mix and a dry phase |
| Double pot | Water seeps through clay | Ferns and other moisture lovers | Small reservoir, moldy clay |
| Globe or stake | Releases water as the soil dries | Pots you already own, vacations | Globes run out fast, stakes need setup |
Do Self-Watering Pots Work? Pros and Cons
Do self-watering pots work? Yes, for the right plant in the right spot. University of Illinois Extension says consistently available water is great for vegetables and tropical houseplants and that these containers are especially useful for people who can’t check their plants every day. It also says plants that like to dry out, such as succulents, don’t usually warrant the extra cost.
| Pros | Cons |
|---|---|
| Water lasts one to several weeks | Easy to overwater plants that like to dry out |
| Even moisture for thirsty plants | Dense soil turns soggy and rots roots |
| No spills or wet saucers | Open fill holes can breed fungus gnats and mosquitoes |
| Leaves and the soil surface stay dry | Fertilizer salts build up because nothing drains out |
| Good for travel and busy weeks | Hard to see how much water is left in basic models |
| Less water wasted | Cost more than plain pots |
How do self-watering pots work in a dark or humid room? Not well. A plant in low light uses water slowly, so the mix stays wet for days and the roots run short of air. The same pot can be perfect on a bright windowsill in a dry apartment and soggy in a dim, humid bathroom. So, are self-watering pots good? They’re good when the plant drinks fast enough to empty them. If your reservoir stays full for weeks, the plant isn’t using the water and the mix is staying wet.
Best Plants for Self-Watering Pots (and Ones to Avoid)
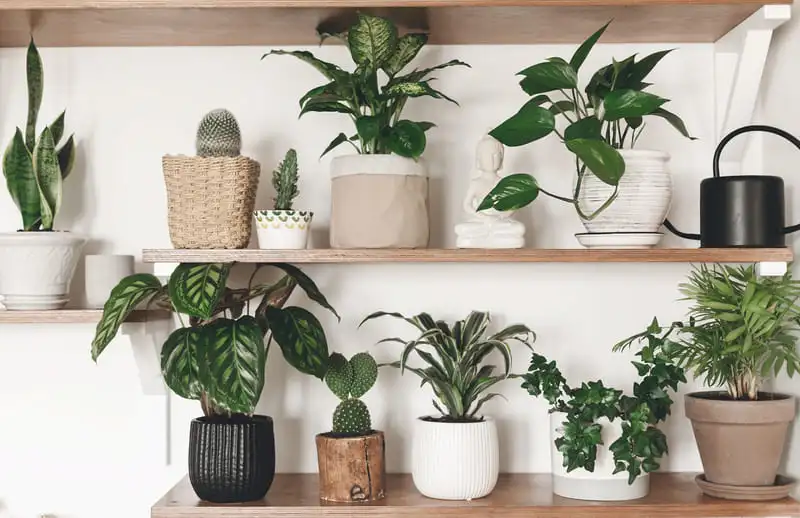
The best plants for self-watering pots are the ones that sulk when they dry out. Think soft leaves, fast growth and a habit of drooping dramatically when you forget them.
| Thrive | Work with a long dry phase | Avoid |
|---|---|---|
| Pothos, peace lily, spider plant | Philodendron, monstera | Cacti |
| Ferns, calathea, fittonia | Hoya, ZZ plant | Jade, aloe and echeveria |
| African violets | Money tree, fiddle-leaf fig | Snake plant |
| Alocasia, syngonium, croton | Areca palm | Orchids grown in bark |
| Basil, mint, parsley, lettuce | Dracaena | Rosemary and lavender |
African violets are a classic match. They like steady moisture and hate water on their leaves, so watering from below suits them. Spider plants and pothos are the easiest to start with, and most of our hard-to-kill plants fall into the first two columns. Basil and mint love them too, which makes these pots handy for an indoor herb garden with grow lights, where lights dry pots out fast.
How do self-watering pots work with succulents? Poorly. The mix never gets the bone-dry spell those plants need, and the roots rot. Keep them in terracotta with a drainage hole.
How to Use Self-Watering Pots, Step by Step
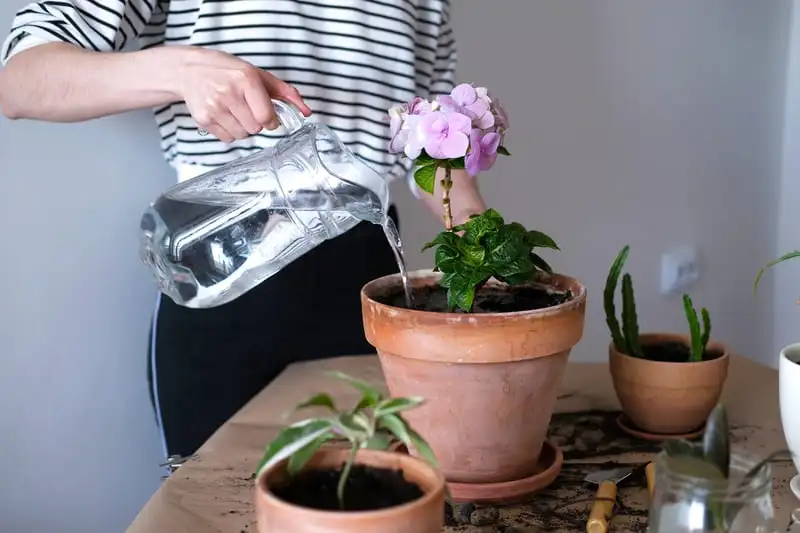
Most problems with self-watering pots for indoor plants come from setup, not the pot. Here’s how to use self-watering pots so the plant actually likes it.
Plant Directly or Keep the Nursery Pot?
Either works if the pot is built for it. Planting straight into the insert gives roots full contact with the wick or soil column, which is how most designs are meant to work. Keeping the plant in its nursery pot is fine with double pots and planters that use a liner, as long as the bottom of the nursery pot touches the wick or sits just above the water. Pick a pot that comes apart, so you can check roots, flush the mix and repot without a fight.
Use an Airy Potting Mix
Never use garden soil. It packs down, holds too much water and suffocates roots, and Kentucky Extension warns against heavy soils like clay. Use a houseplant potting mix and add perlite, pumice or LECA (clay pebbles) until roughly a third to half of the mix is chunky. You want a mix that wicks water but still holds air.
Water From the Top First
How do self-watering pots work on day one? They don’t, yet. The roots are still near the surface and the mix may be too dry to wick. Water from the top for the first two to three weeks, until roots grow down toward the reservoir.
Fill the Reservoir
Pour water into the fill tube or side lip until it reaches the max line or starts to trickle from the overflow hole. If the opening is tiny, use a watering can with a long, narrow spout or a small funnel. You can also water from the top and let the extra drain into the reservoir, which doubles as a flush.
Let It Run Dry Before Refilling
Should you always keep water in a self-watering pot? No, and this is the step most people skip. Once the reservoir is empty, wait before refilling: about two to four days for thirsty plants like ferns and peace lilies, and a week or more for philodendrons, hoyas or ZZ plants. Lechuza’s own instructions say the same thing: refill only when the indicator reads “min,” then give small plants about a week and larger ones about two weeks of dry phase. That pause lets air back into the mix. Adding only a small amount of water at each refill works too.
Flush and Feed Every Month or Two
Water only moves up in a self-watering pot, so fertilizer salts collect near the surface and show up as a white crust. Every month or two, water slowly from the top until it runs out of the overflow hole, then empty the reservoir and refill it with fresh water. In spring and summer, feed with a liquid fertilizer at half strength. You can add it to the reservoir, just not at every refill.
How Often to Fill a Self-Watering Planter
It depends on reservoir size, plant size, light and temperature, so treat these as starting points:
| Pot and setting | Typical refill interval |
|---|---|
| Small wick pot, 4-6 in | Every 3-7 days |
| Medium reservoir pot, 8-12 in, bright room | Every 1-3 weeks |
| Large floor planter with an indicator | Every 2-6 weeks |
| Same pot in winter or low light | Up to twice as long |
| Same pot in summer heat or a sunny window | About half as long |
Makers of large planters with multi-gallon reservoirs claim up to 12 weeks between fills. Treat that as the best case for a big pot, not a promise.
How do self-watering pots work while you’re away for three weeks? Run a test first. Fill the reservoir, note the date and see how long it lasts at home in the same season. If it lasts 10 days, it won’t last 21, so move up a pot size, group plants together or add a watering stake. A soil moisture meter for indoor plants tells you whether the mix is still damp halfway down when the reservoir reads empty, which is the best sign of when the plant really needs more.
If the reservoir empties overnight, the pot is too small. A big fern in a 6-inch wick pot can drink a small reservoir in a day.
Troubleshooting: Root Rot, Gnats, Mold and Smells
Can plants get root rot from self-watering pots? Yes, if the mix stays wet. Most problems give you a warning first:
| Problem | Likely cause | Fix |
|---|---|---|
| Yellow, droopy leaves while the mix is wet | Root rot from dense mix or a reservoir that never empties | Unpot, trim brown mushy roots, repot in a chunkier mix and add a dry phase |
| Fungus gnats | Damp surface or an open fill hole | Let the top dry, cover the fill hole, add BTI (the bacteria in mosquito dunks) to the water |
| Mosquitoes outdoors | Standing water in an open fill tube | Cap the tube and empty reservoirs after heavy rain |
| White crust on the soil | Fertilizer and tap-water salts | Flush from the top and cut back on fertilizer |
| Green water or slime | Algae from light reaching the reservoir | Scrub with diluted vinegar and switch to an opaque pot |
| Sour, swampy smell | Stale water and dying roots | Empty and rinse the reservoir, then check the roots |
| Reservoir never goes down | The plant isn’t drinking (low light, cold) or the wick dried out | Move to brighter light, re-wet or replace the wick |
Yellow leaves on a wet plant almost always mean a root problem, and our guide to monstera leaves turning yellow walks through the signs. If tiny flies are the issue, here’s how to get rid of flying bugs on indoor plants.
How Much Do Self-Watering Pots Cost?
How do self-watering pots work at $8 compared with $60? Mostly the same. Extra money buys a bigger reservoir, a water level indicator, a removable liner and nicer looks.
| Option | Type | Typical price |
|---|---|---|
| DIY soda bottle with a cotton or acrylic wick | Wick | 0-2 |
| DIY 5-gallon bucket planter | Wickless reservoir | 10-15 |
| Budget wick pot multi-packs (e.g. Samhe, 5.5 in) | Wick | About $15 for 4 |
| Mainstays resin self-watering planters, 9-14 in | Reservoir with side fill lip | 6-10 |
| Mainstays Aquaterra terracotta double pots | Double pot | 3-13 by size |
| Bloem Ariana 12 in | Reservoir | About $19 |
| Self-watering globes, 2-pack | Globe | About $10 |
| Blumat Classic stakes, 3-pack | Ceramic stake | About $15 |
| Posie Pots 5 in | Reservoir, 3D printed | 23-25 |
| Lechuza Classico LS 21 | Reservoir with indicator and liner | About 45-65 |
| Large Lechuza or TruDrop floor planters | Reservoir holding several gallons | $100 to $600+ |
Prices checked November 2026 at major retailers and brand websites. Prices change often, so check before you buy.
What to Look for When You Buy One
What is a self-watering planter worth paying extra for? A few features make a real difference, and most of them have nothing to do with looks.
- A water level indicator. Without one, you’re lifting, shaking or peering into a dark hole to guess what’s left.
- An inner pot or liner that lifts out. It makes checking roots, flushing salts and repotting easy.
- A reservoir that fits the plant. Big, thirsty plants need big tanks. A reservoir the size of a saucer will empty overnight under a large fern.
- An overflow hole or drain plug. Indoors you can keep it closed, but outdoors it’s what saves the plant after a storm.
- An opaque reservoir. Clear plastic looks nice, but light turns the water green with algae.
- A fill opening wide enough for your watering can, or a fill tube that sits above the soil line.
How to Make a Self-Watering Planter
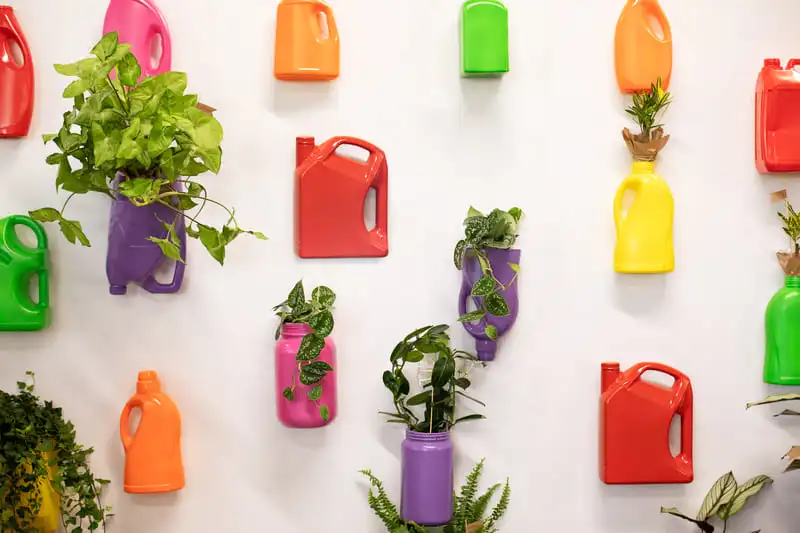
Before you buy anything, you can learn how to make a self-watering planter from your recycling bin. How do self-watering pots work when you build one yourself? Exactly like the store-bought kind. A DIY self-watering pot just skips the water level indicator and the nice finish.
Soda Bottle Wick Pot
You need a 2-liter bottle, about 8 inches of cotton or acrylic cord, potting mix and a small plant.
- Cut the bottle about a third of the way down from the top.
- Poke a hole in the cap and thread the wick through, leaving a few inches on each side.
- Flip the top section upside down into the bottom section, cap pointing down.
- Wet the wick, run it up into the middle of the top section and fill around it with potting mix.
- Plant, then pour water into the bottom until it sits just below the cap.
It’s the cheapest DIY self-watering pot there is, and it works well for herbs, lettuce and cuttings.
5-Gallon Bucket Planter
If you want to know how to make a self-watering planter big enough for tomatoes or a patio herb pot, build a bucket sub-irrigated planter.
- Drill holes in the bottom of one 5-gallon bucket and cut a hole in the middle for a wicking cup, such as a plastic cup with holes or a small net pot.
- Nest that bucket inside a second bucket so the cup hangs into the space below.
- Cut a piece of 1.5- to 2-inch PVC pipe that reaches from the top down to the bottom of the outer bucket. That’s your fill tube.
- Drill an overflow hole about 3/8 inch wide in the outer bucket, just below the bottom of the inner one, so water can never flood the soil.
- Pack the wicking cup with moist potting mix, then fill the inner bucket and plant.
- Water from the top once, then fill through the tube until water runs out of the overflow hole.
Expect to spend about $10 to $15 if you buy the buckets and pipe. Smaller versions of the same idea work for lettuce and greens in an indoor vegetable garden.
FAQ
No. Illinois Extension calls the gravel-for-drainage idea a myth, because water perches in the soil above a gravel layer instead of draining into it. The reservoir already gives the water somewhere to go, and rocks just take up root space.
How long do self-watering pots last?
Plastic and resin pots last for years indoors. Wicks are the weak part: cotton rots and synthetic cord clogs with minerals, so plan on replacing them about once a year. Clear plastic outer pots can turn brittle and cloudy in strong sun.
Do spider plants do well in self-watering pots?
Yes, they’re one of the best plants for self-watering pots for beginners. Flush the mix from the top every month or two, because spider plants show salt damage as brown leaf tips.
Can you use self-watering pots outdoors?
Yes. Open the drain plug or overflow so rain can escape, cap fill tubes so mosquitoes can’t breed and empty the reservoir before the first frost so it doesn’t crack.
Can you move a plant back to a regular pot?
Yes, but ease it in. Roots used to constant moisture can sulk in a pot that dries out, so water a little more often for the first few weeks.
Final Thoughts
So, how do self-watering pots work? Water waits below, capillary action pulls it up and the plant takes what it can, as long as you give the mix a chance to dry between fills. Are self-watering pots good for every plant? No. Do self-watering pots work for pothos, ferns, peace lilies, herbs and violets in a bright room? Very well. Start with one cheap pot and one thirsty plant, let the reservoir run dry before each refill and flush it every month or two. If it goes well, the pricier self-watering pots for indoor plants with water level indicators are worth a look for your big floor plants.